In Canada, the adoption of solar panels as a critical element of sustainable energy initiatives has surged. This article explores the physics behind optimizing the angles of solar panels, highlighting their importance in improving performance. Navigating through the vast Canadian landscape, we explore the optimal angles for solar panels and illuminate the reasons behind their effectiveness. Furthermore, we delve into the practical considerations of rooftop solar panel installation, offering a comprehensive guide to harnessing solar power effectively in Canada.
What is the optimal angle for solar panels in Canada?
It is a good idea to install solar panels in Canada, as they present favorable conditions due to their overall exposure to sunlight. The region experiences an annual average of 1,300 to 2,500 hours of daylight, with variations based on specific locations and provinces. The solar irradiation levels, essential for solar energy generation, typically range from moderate to high. Coastal areas are affected by the marine environment, leading to slightly lower solar intensity, whereas inland regions experience higher solar power.
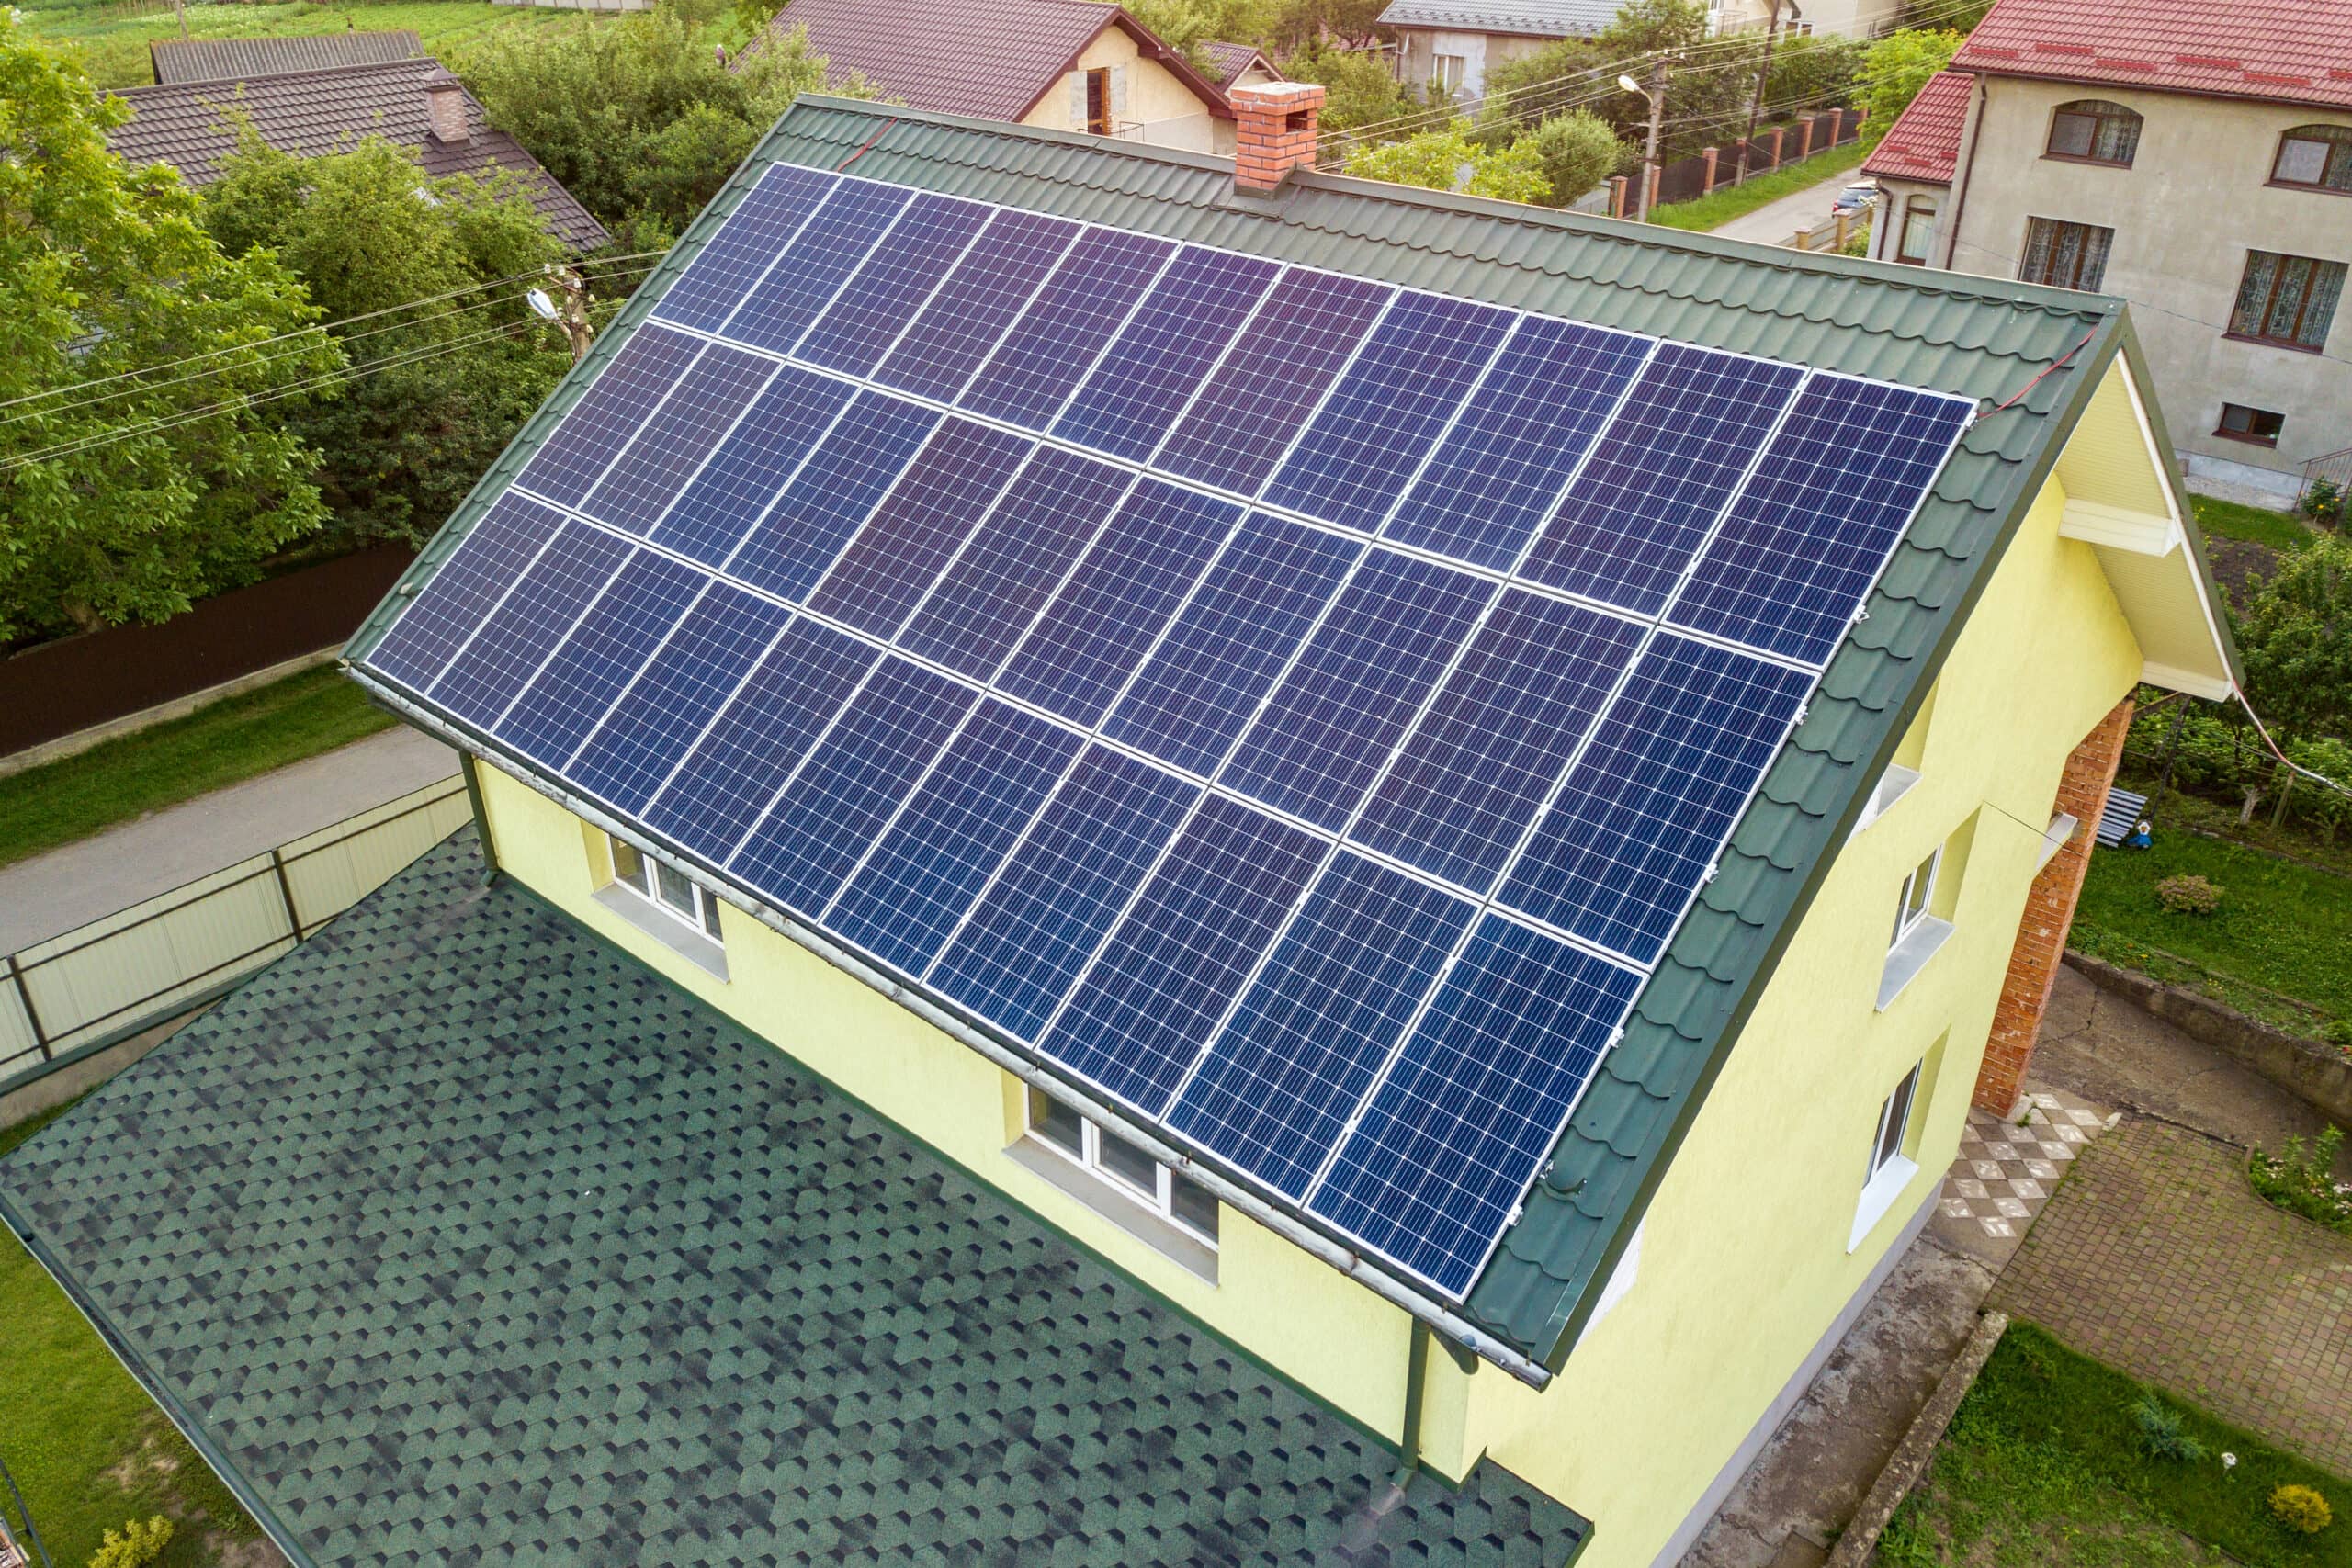
However, it’s essential to note that specific conditions can fluctuate depending on location and seasonal changes. Hence, optimizing your solar panels installations is the best solution for generating more power, and it involves understanding the concept of pitch—the angle at which solar panels are tilted. This factor significantly impacts the energy production of solar panels. Aligning solar panels with the latitude of the area ensures optimal performance. For example, in a location with a latitude of 30 degrees, the optimal pitch would also be around 30 degrees.
Implementing such seasonal adjustments maximizes the utilization of sunlight and optimizes the energy generated by solar panels throughout the year. It’s important to note that while the angle of the panels can make a difference, it’s not so much that it’s worth adjusting them. During the summer, changing panels to a lower angle allows them to capture more sunlight when the sun is higher overhead, maximizing energy production for longer days. Conversely, adjusting panels to a steeper angle in winter ensures they face the sun position directly, optimizing sunlight capture during shorter days while these general principles apply.
Why Do Solar Panels Work Better at an Angle?
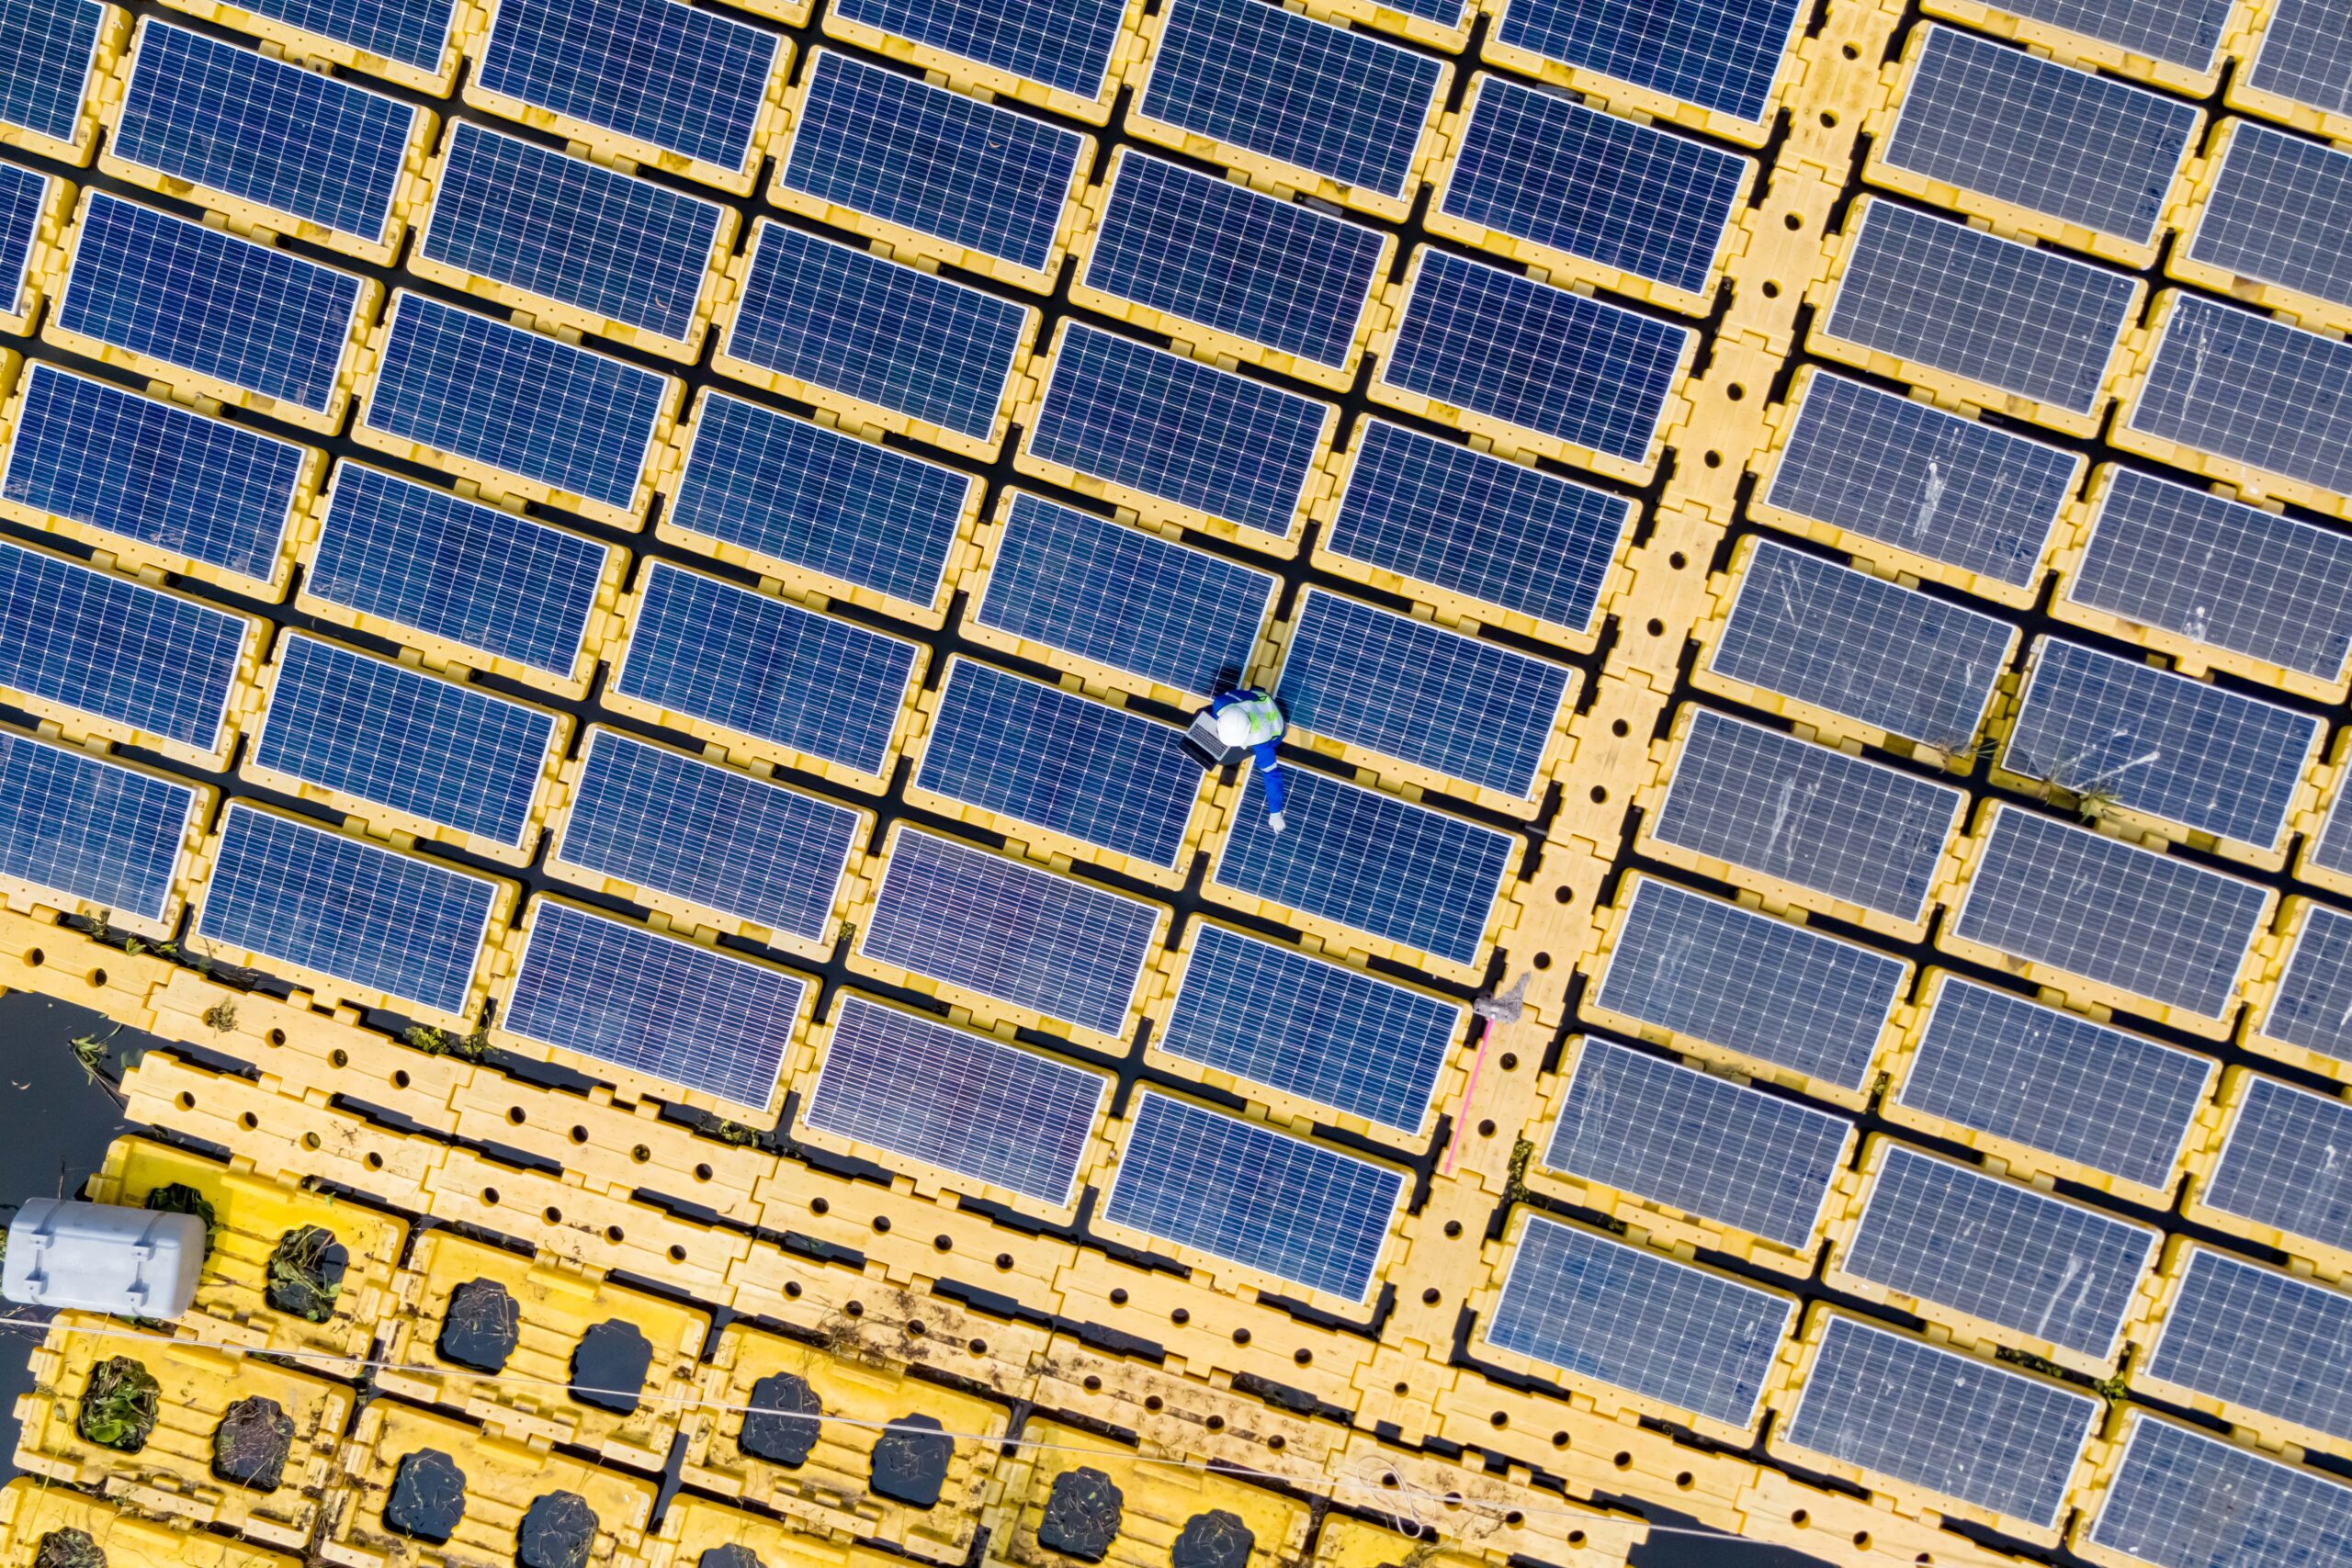
The positioning of your solar panels plays a significant role in enhancing their efficiency and, consequently, increasing energy production. When the solar panels are positioned at the optimal angle toward the sun, they can absorb sunlight more effectively, increasing energy production and converting it into usable electricity. It is also important to note that occasionally adjusting solar-powered chargers is a smart move to enhance energy generation. Since the position of the sun overhead changes constantly, adjusting the board angle accordingly allows them to capture the maximum amount of sunlight. This records the changing positions of the sun during different seasons and ensures consistent energy production.
By considering these variables and adjusting the placement of your solar panels, you can maximize available sunlight and increase energy production.
Does the angle of light affect solar panels?
Yes, the angle of light significantly impacts the efficiency of solar panels. The angle of incidence determines the amount of sunlight the solar panels can capture. The location where sunlight directly hits the solar chargers affects their energy production. When sunlight hits the panels at a perpendicular angle, it maximizes the amount of energy that can be captured and converted into electricity. The solar zenith angle is the position at which solar panels receive the most direct sunlight. Energy conversion efficiency decreases when the angle is not perpendicular, as the atmosphere absorbs and reflects more light. Understanding and optimizing the solar zenith angle is crucial for maximizing the overall performance of solar chargers.
To enhance solar energy efficiency, some advanced solar systems incorporate tracking devices that follow the sun’s movement throughout the day. These solar-powered trackers use sensors to detect the sun’s position and adjust the panel angle accordingly. There are two fundamental types: single-axis trackers that move panels from east to west and dual-axis trackers that adjust for seasonal changes in the sun’s elevation.
Sun trackers sound impressive. However, the extra cost might not be worthwhile. One of the most important advantages of solar panels is their simplicity – no moving parts, which translates to low maintenance. Sun trackers introduce complexity at every stage with their motors, joints, and tracking mechanisms. They require special racking for setup and ongoing maintenance to ensure everything is running smoothly, potentially including repairs and replacements. The extra efficiency gained from sun trackers doesn’t justify the additional expense. The slight benefit of perfectly angled panels doesn’t outweigh the cost of more complex racking. And even with trackers, you still have moving parts that require maintenance!
How do you attach solar panels to a roof?
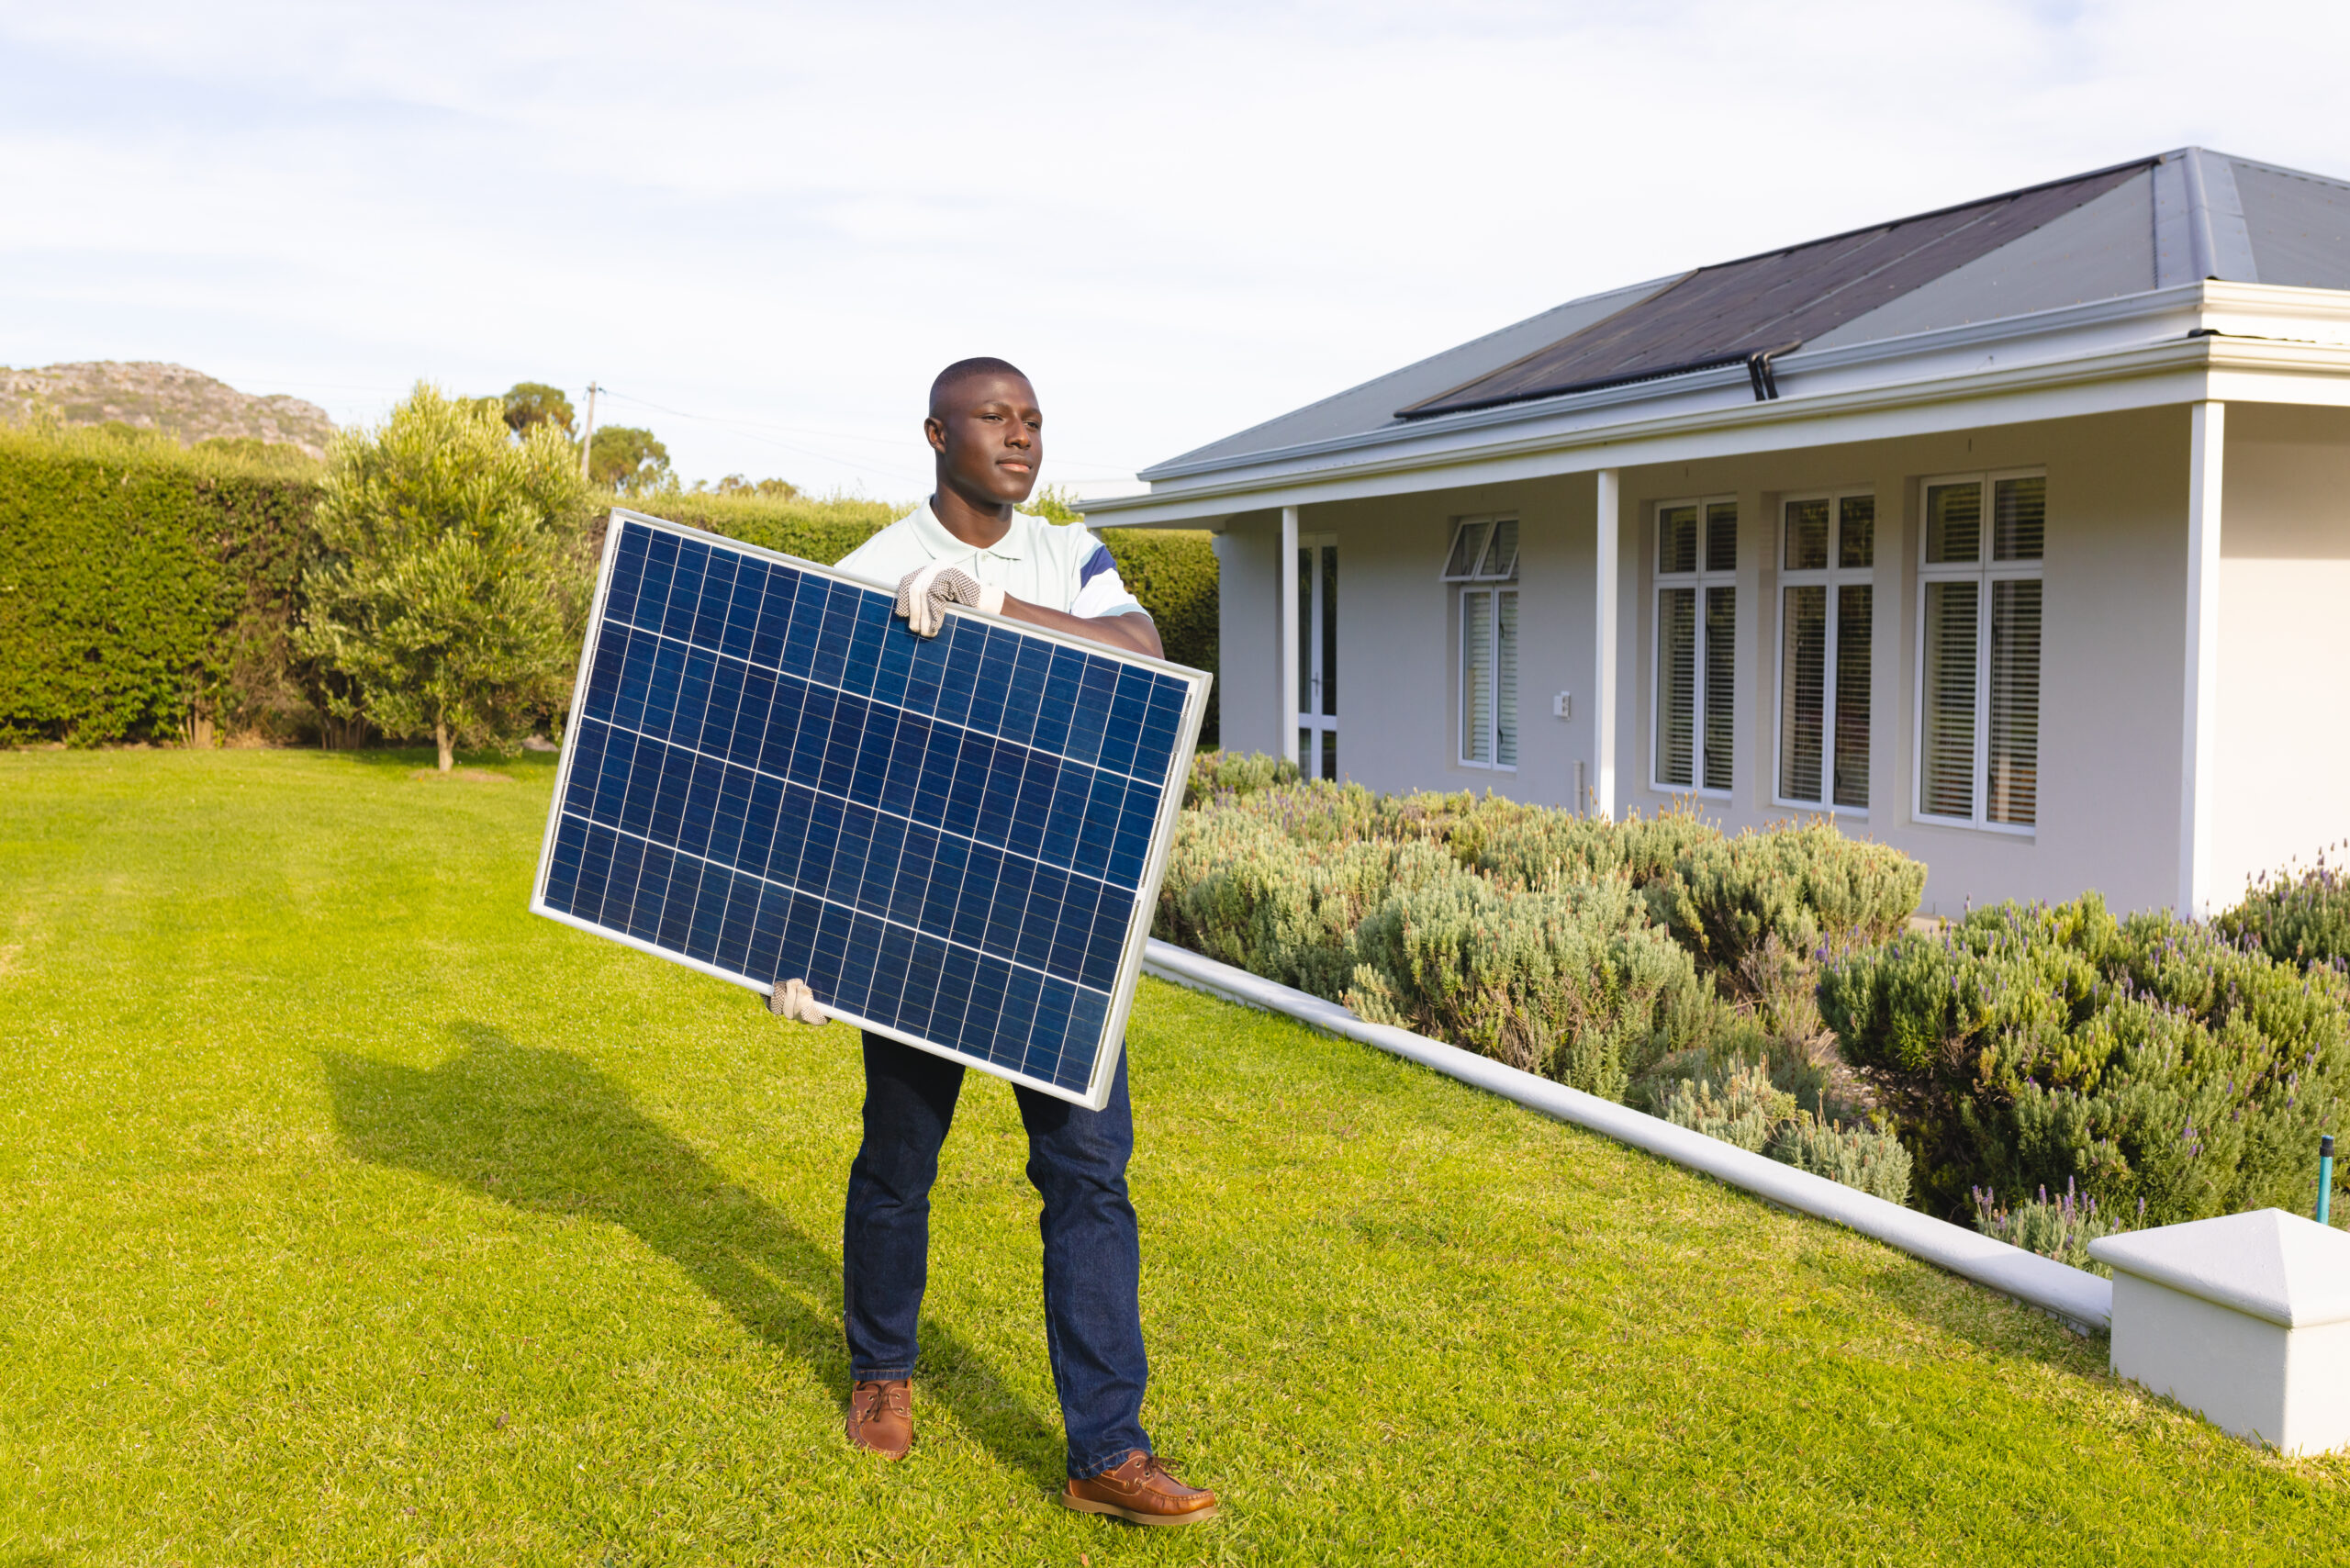
Installing solar panels on your roof requires careful consideration and professional expertise. The process typically involves the following steps:
1. Assess the Roof:
The first step is to assess the condition and suitability of your roof. Ensure that the roof is structurally sound and capable of supporting the weight of the panels. Check for any hazards or leaks that need to be addressed before installation.
2. Decide on Board Position:
Choose the optimal location for your solar modules. Consider variables such as the angle of sunlight, potential obstruction from nearby structures or trees, and the orientation of your roof. Ideally, the panels should face south (in the northern hemisphere) or north (in the southern hemisphere) to maximize sunlight exposure.
3. Prepare the system for mounting:
Choose a suitable mounting system (anchors) for your solar panels. The panels will be secured to your roof using this system. Various types are available, such as roof hooks, rails, or ballasted systems.
5. Attach the Mounting Framework:
Secure the mounting framework to your rooftop using appropriate clips. And try to keep the manufacturer’s rules for sorting and organizing. Also ensure that the mounting system is aligned correctly.
6. Install the wires.
Once the mounting framework is in place, connect the solar chargers to the wiring system. It is essential to ensure the wiring is done by a certified professional to ensure safe and efficiency.
7. Ensure the Safety of the Solar Panels:
Carefully lift each solar panel onto the mounting frame and secure it. Follow the manufacturer’s instructions for attaching the boards to the mounting frame. Exercise caution to avoid damaging the boards during installation.
8. Testing and Review:After installing the boards, test the framework to ensure proper functionality. Inspect for any loose connections or problems with the wiring. It is also wise to periodically check the boards to ensure they remain secure and properly aligned. Remember that working with a professional solar installer is always advisable for a safe and effective installation. Don’t hesitate to contact us if you’re looking for grid-tied or off-grid solutions.